1. Start by going to the Schedules tab in your server dashboard.
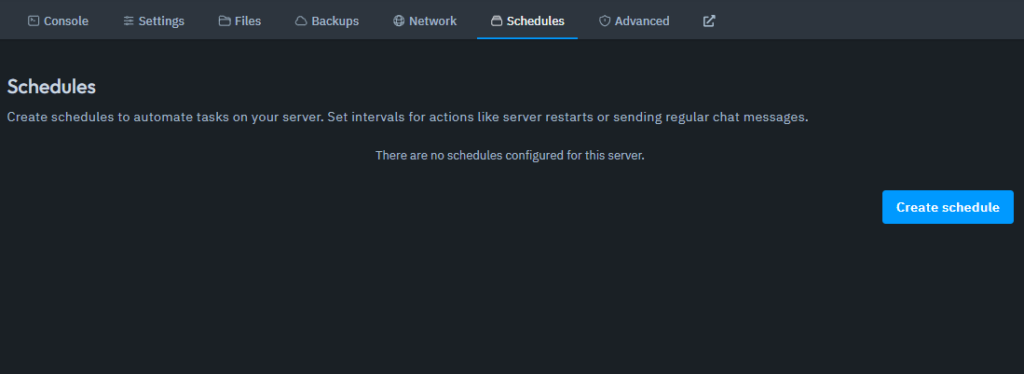
2. Click on Create Schedule.
3. Set Up Your Schedule
Name Your Schedule: Give your schedule a meaningful name
Enter the Time: Specify the time for the schedule.
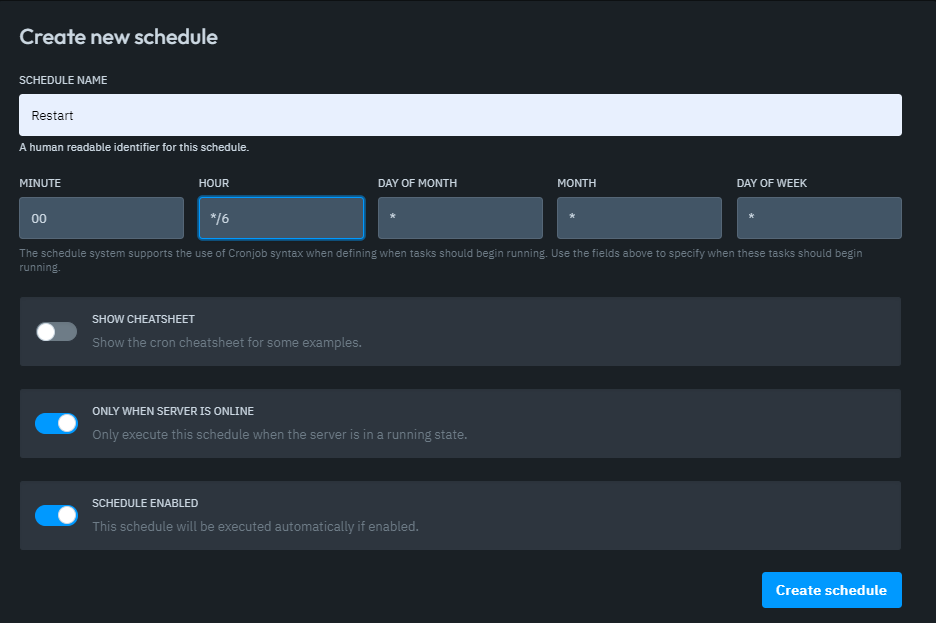

XX:00.4. Click on Create Schedule. At this point, your schedule has been created but doesn’t have any tasks assigned yet.
5. Click on the schedule you just created and choose New Task.
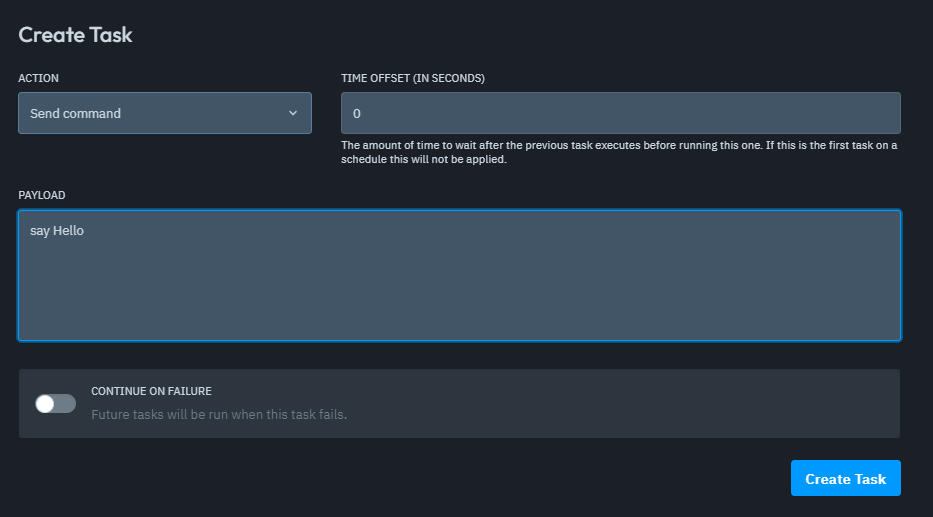
6. Here, you can select the type of task you want your schedule to perform:
– Send Command
This sends a command to the server. For example, in some games, you can use the server console to send messages in-game or trigger specific events.
Example: Using the command say Hello would send the message “Hello” to a Minecraft server every 6 hours, based on the schedule we created.
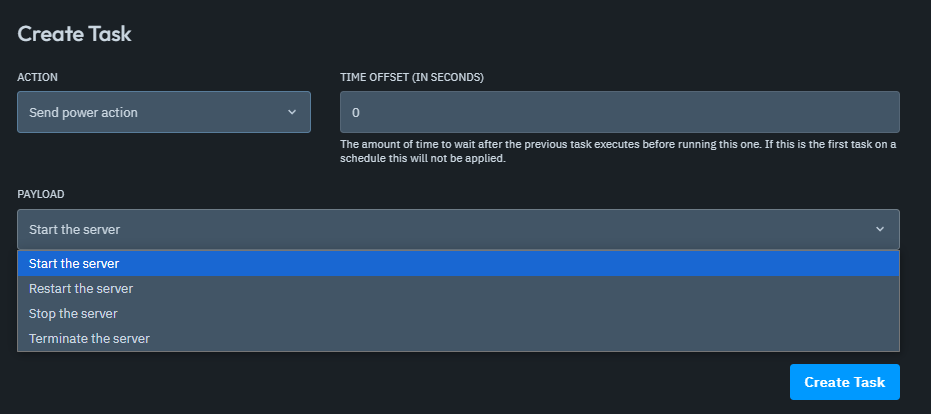
– Send Power Action
This allows you to perform server power actions, such as:
Start the Server
Restart the Server
Stop the Server
Terminate the Server: Unlike a normal stop, this immediately shuts down the server without waiting for saves or plugins to finish.
TIP: If your server runs many plugins that prevent a standard restart, you can use the Terminate option. Then, add another task to the same schedule to Start the server again after a time offset (e.g., 60 seconds).
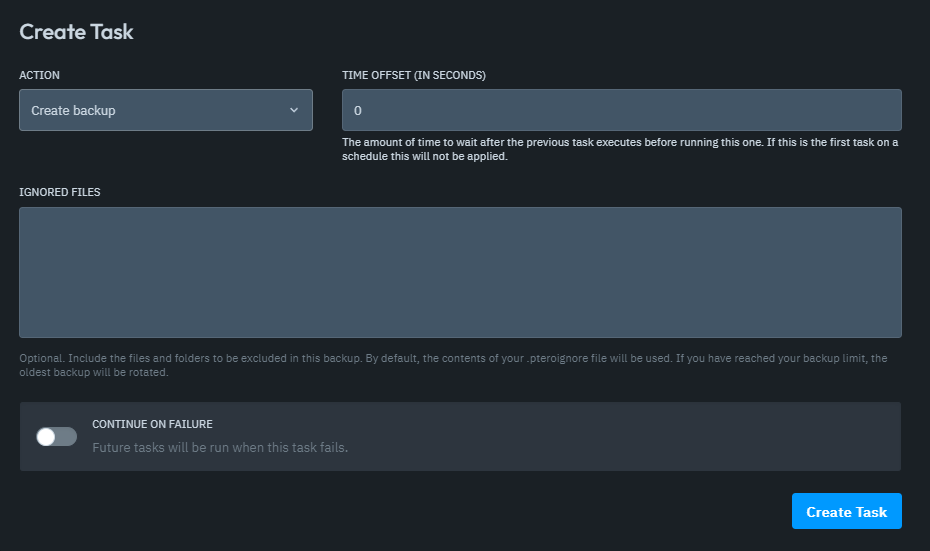
– Create Backup
If you have a backup slot available, this option lets you automatically back up your server.
You can choose which folders to exclude from the backup.
You can also decide whether to Continue on Failure, meaning if the backup fails, the other tasks will still execute or stop.
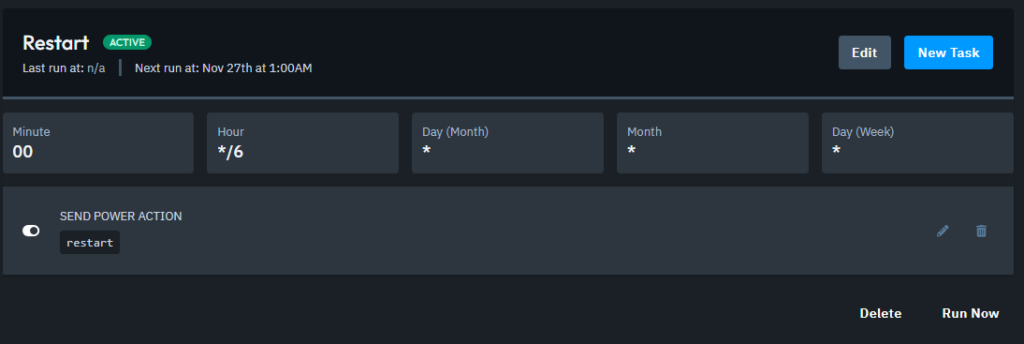
7. After selecting your task, click Create Task. At the top of the schedule, you’ll see when the next task is scheduled to run. (In this example, it’s set to restart every 6 hours.)
And that’s it! You’ve successfully created a schedule for your server.
Now you can sit back and let your schedules handle tasks automatically!